There was one project I'd been looking forward to since moving into the new apartment: plumbing in the direct-drain kit for my Dreame Aqua 10 robot vacuum and the water purifier's supply line at the same time.
If you don't empty the dirty water tank in time after mop cleaning, the smell gets pretty bad. A direct-drain kit gets rid of that hassle entirely. Hiring someone would've been easier, but I decided to do it myself, partly to save money. I'd never done plumbing work before, so I was a little nervous, but figured I'd just dive in.
The spot: under the fridge cabinet, the problem: distance
It looked like a simple job, just a supply line and a drain line, but the real issue was that the distance between the sink cabinet and the fridge cabinet was pretty far. Luckily, since it's a new apartment, there was already a channel drilled through toward the fridge cabinet for the supply line.
First attempt failed, fish tape saved it
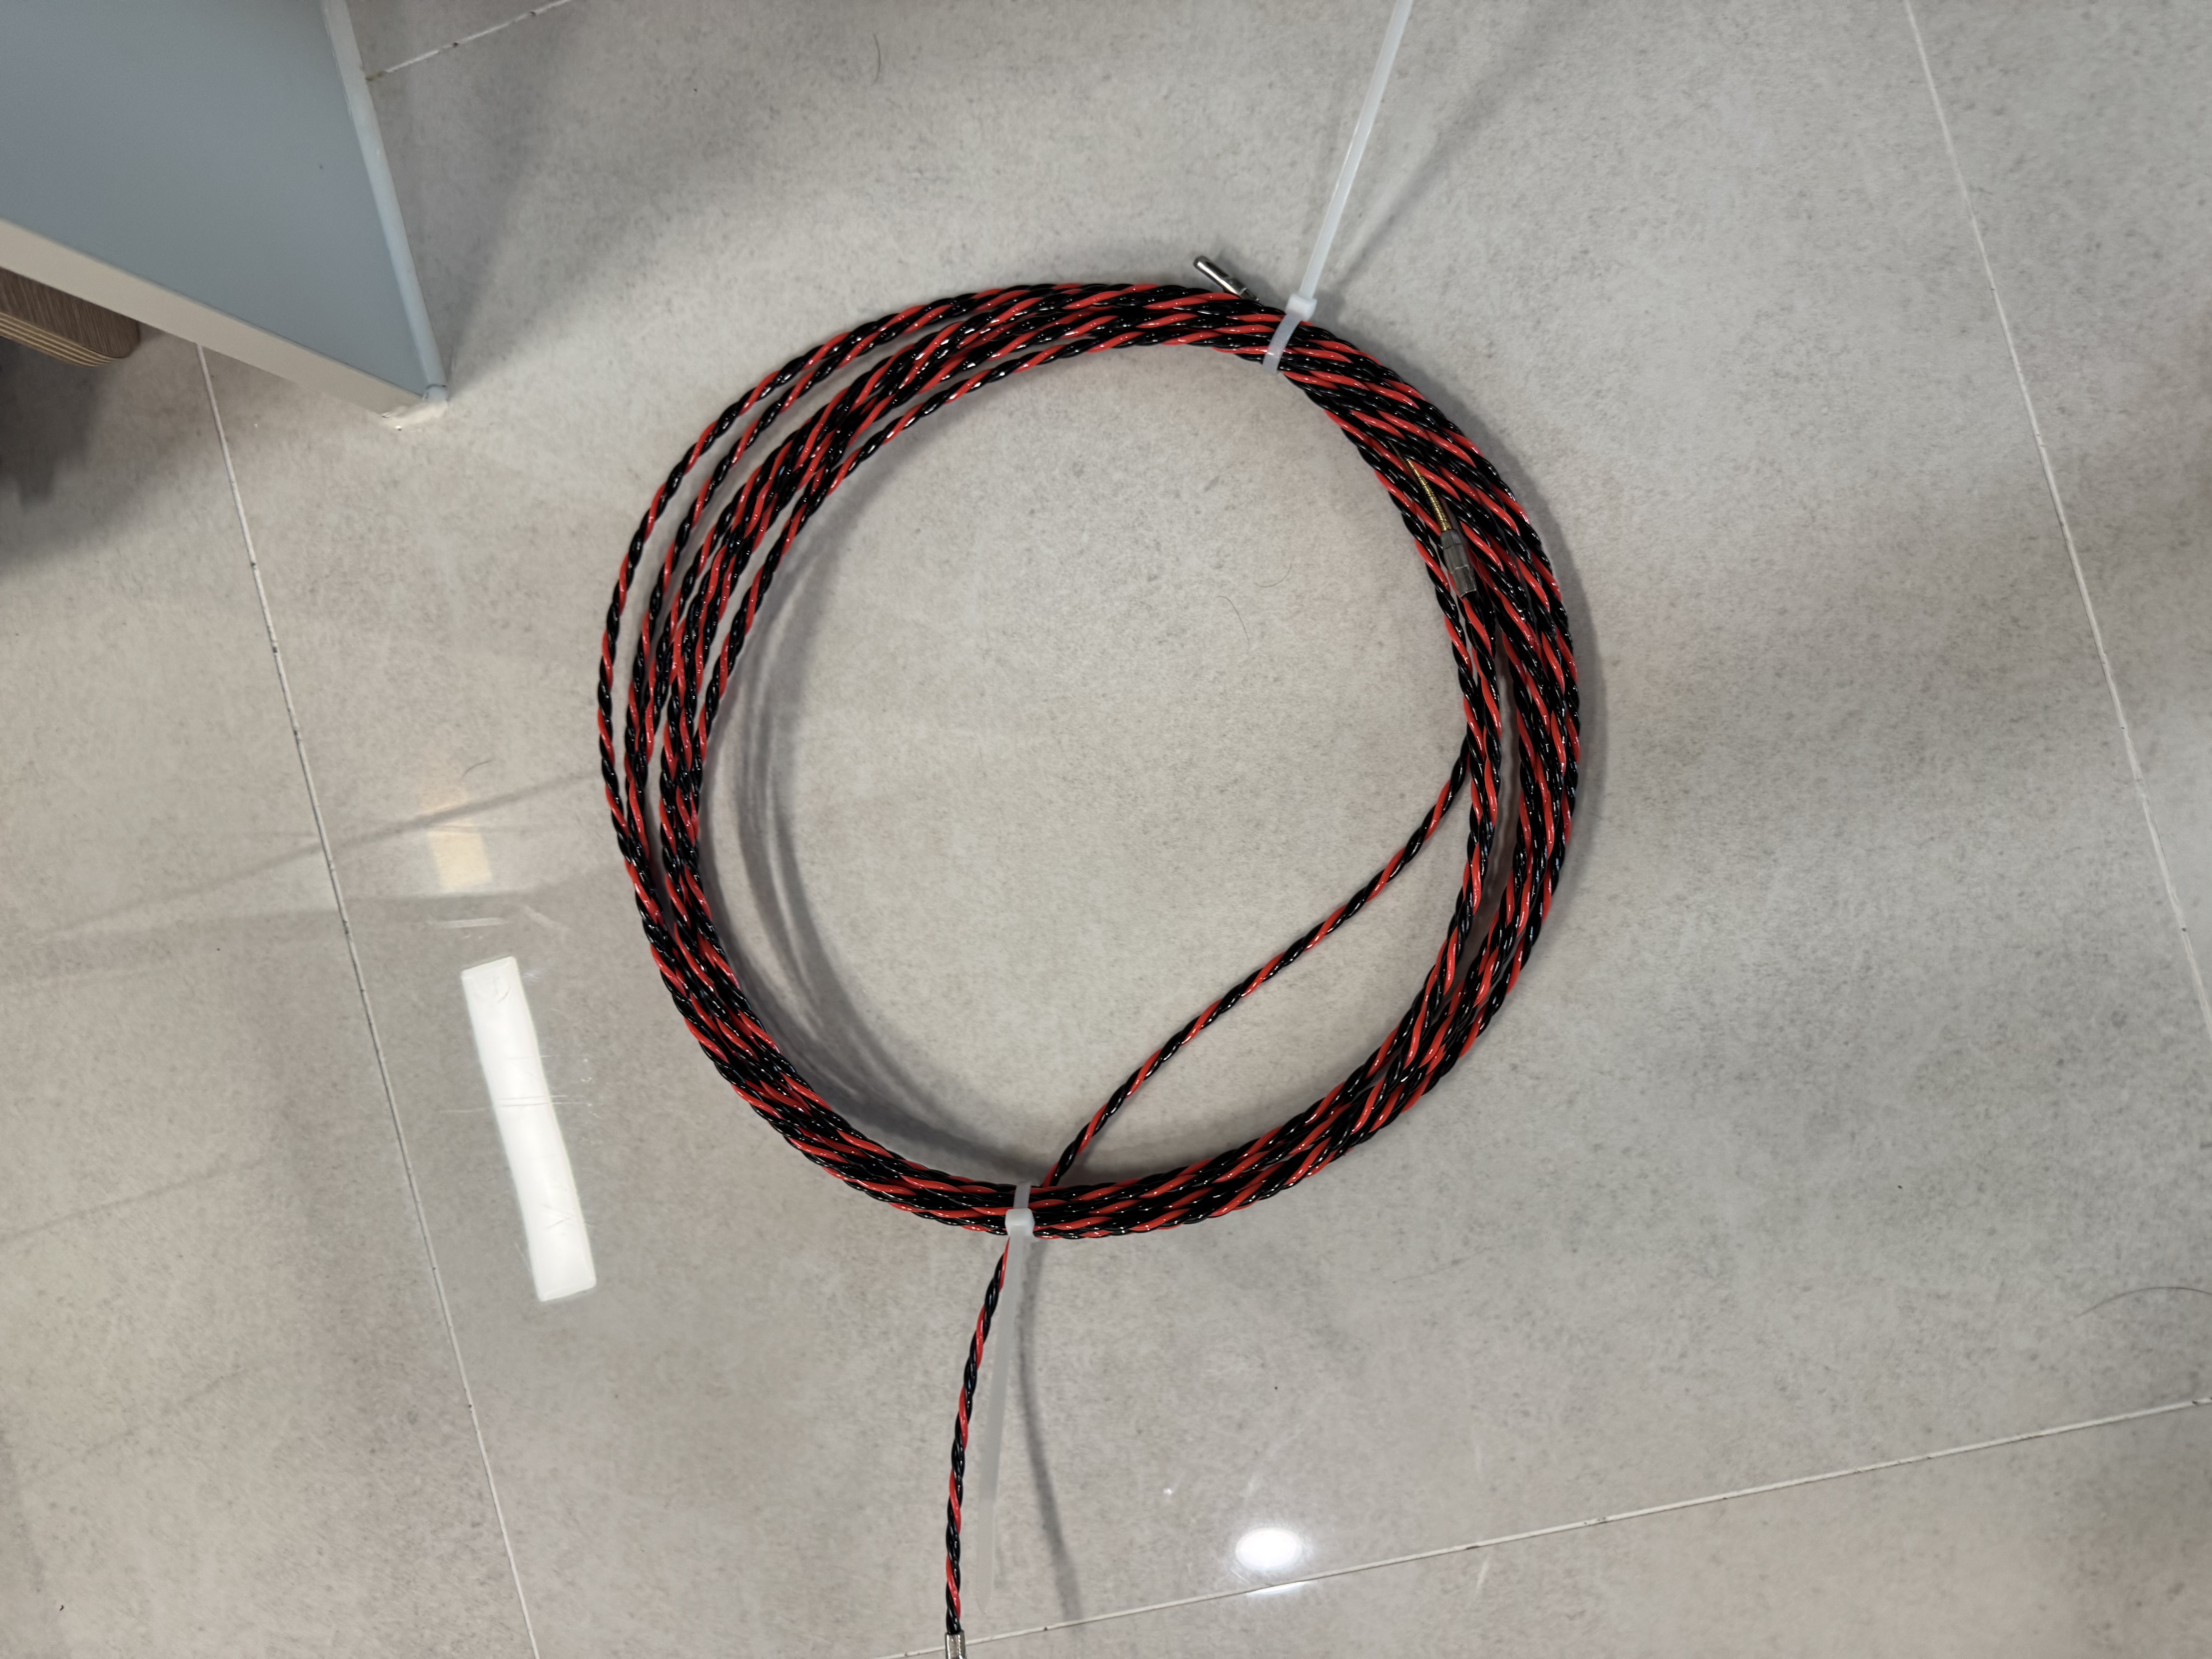
I'd already bought a fish tape ahead of time, but just to see if I even needed it, I tried pushing the tubing through without it first. There was a sharp bend right at the sink end, though, and no matter how hard I pushed, it wouldn't go past that point.
Turned out I needed the fish tape after all. I pulled out the one I'd already bought and tried again, and this time it went in smoothly. The supply and drain tubing came bundled with the Aqua 10 direct-drain kit when I ordered it from Taobao, so the only thing I actually had to buy separately was the fish tape, and that was under 10,000 won.
I was in the middle of moving and couldn't find electrical tape anywhere, so I just used whatever packing tape was on hand to bind the fish tape to the tubing.
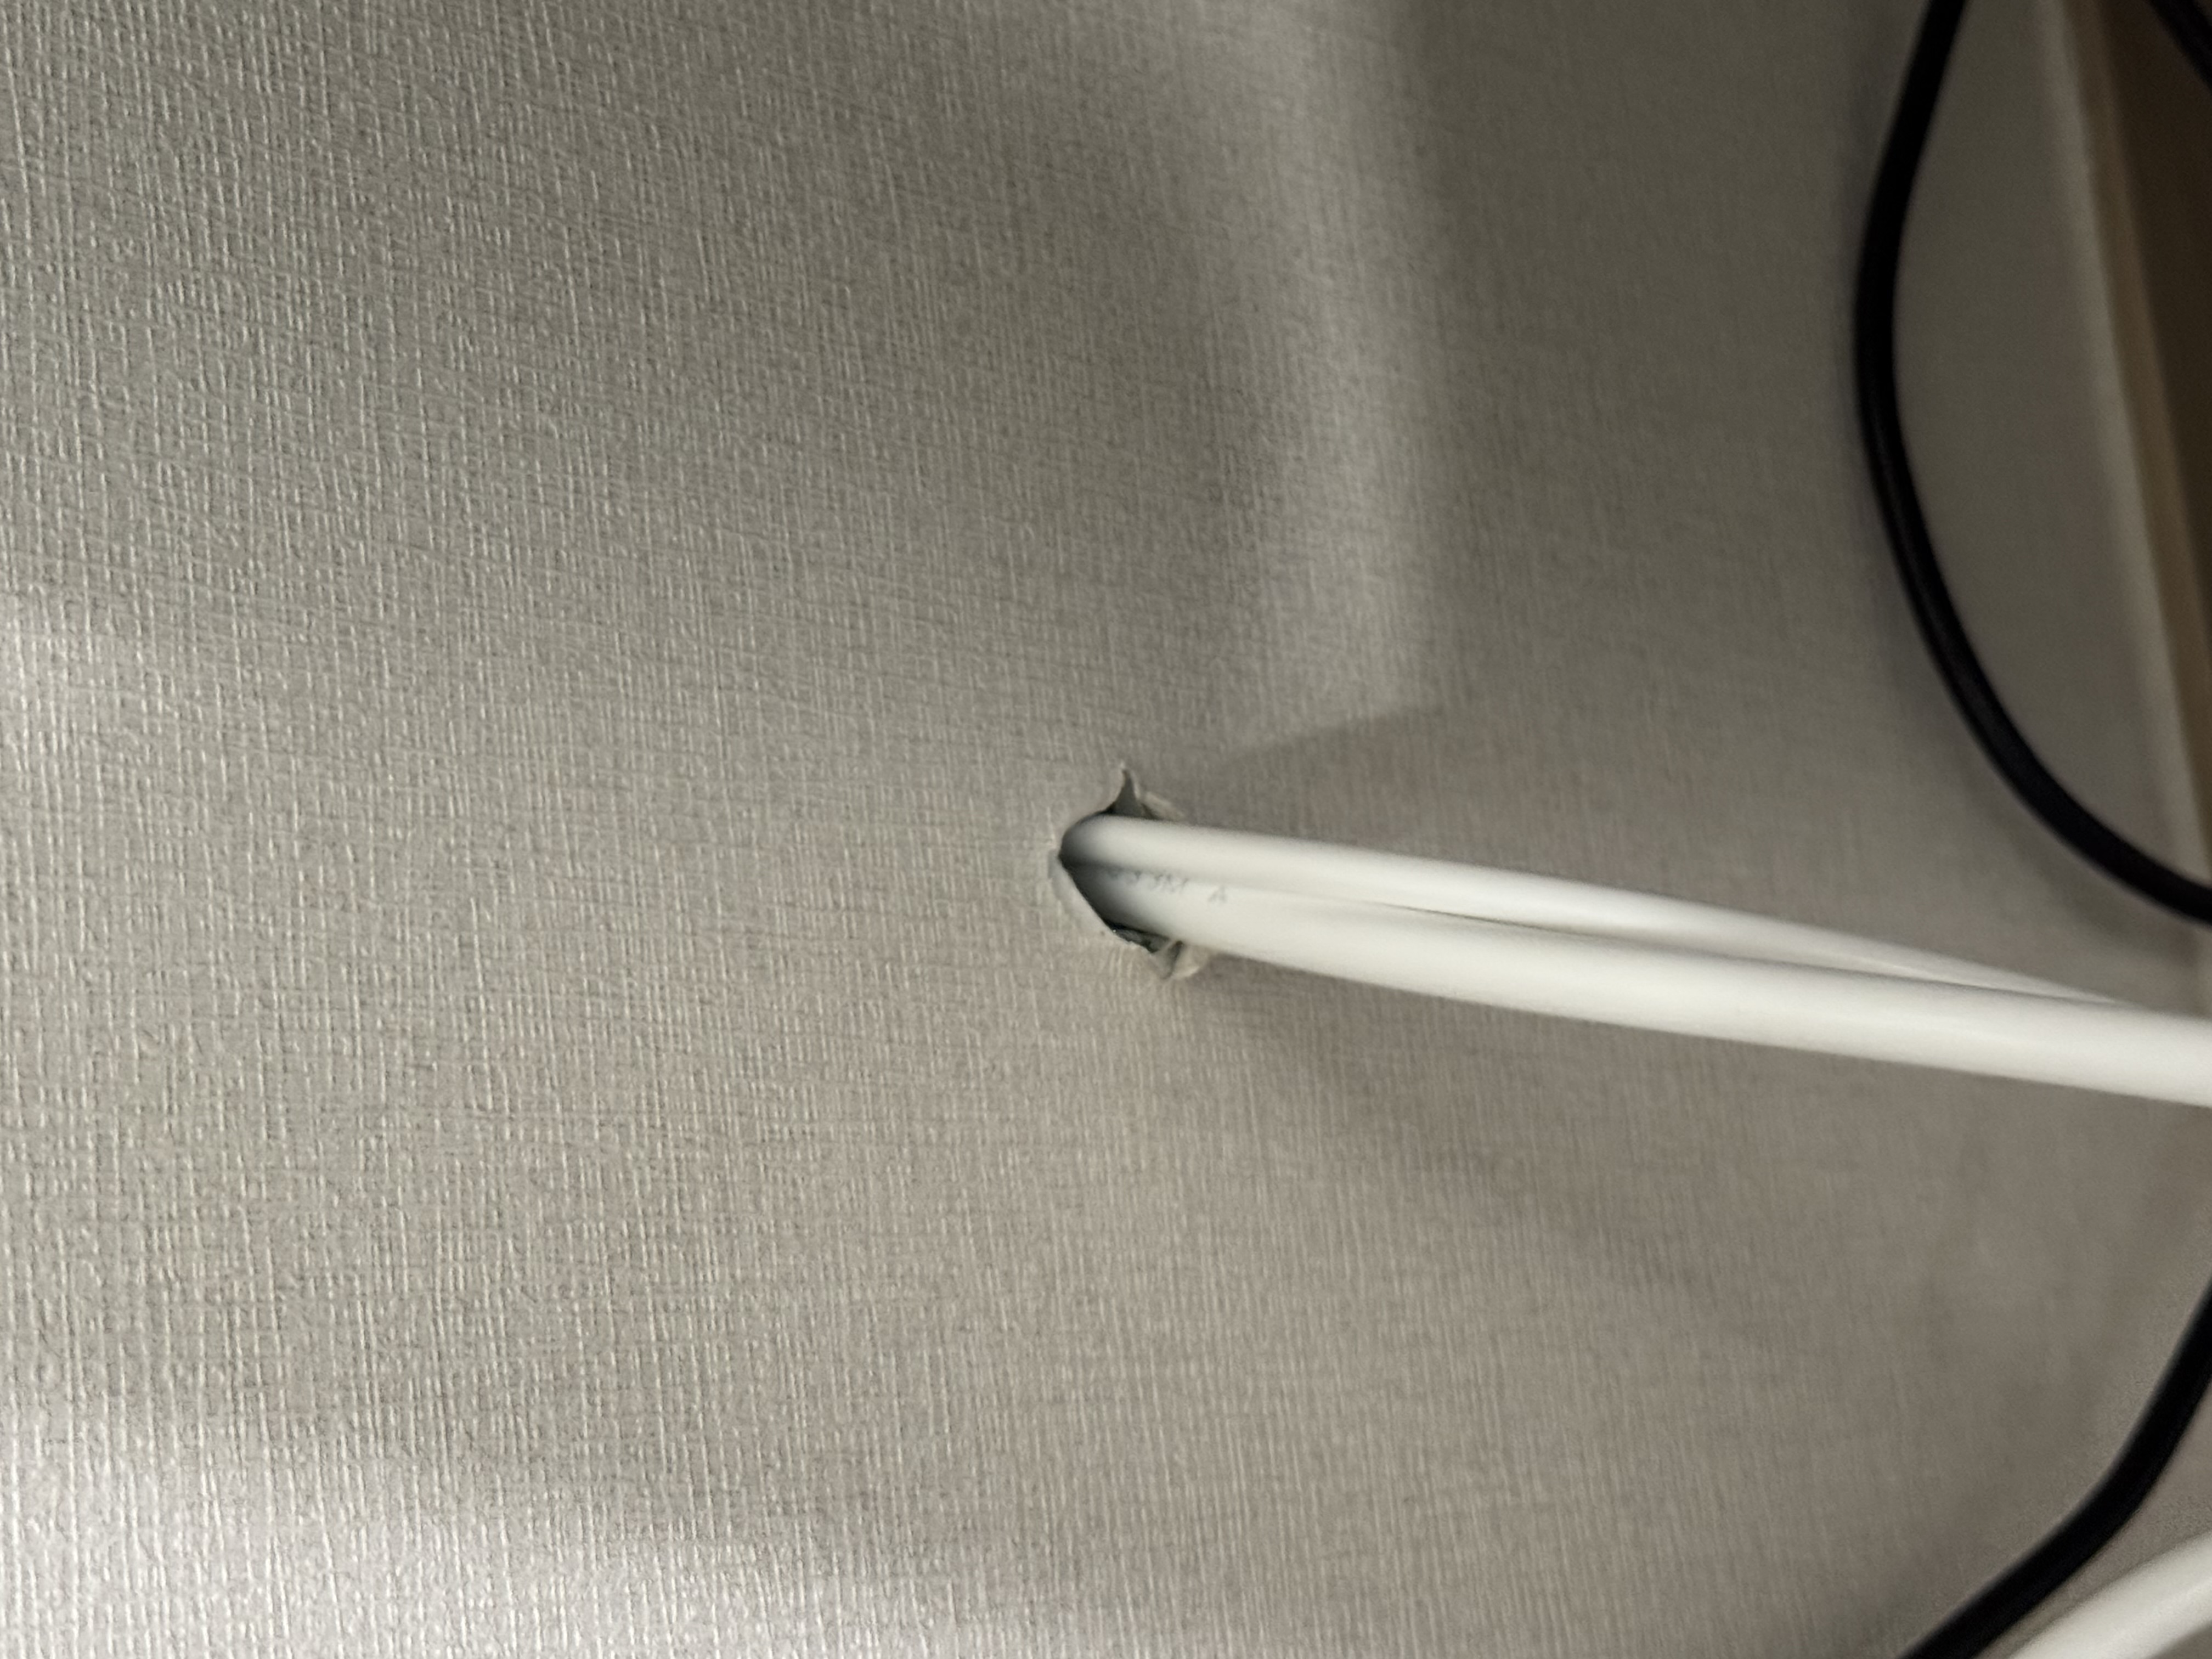
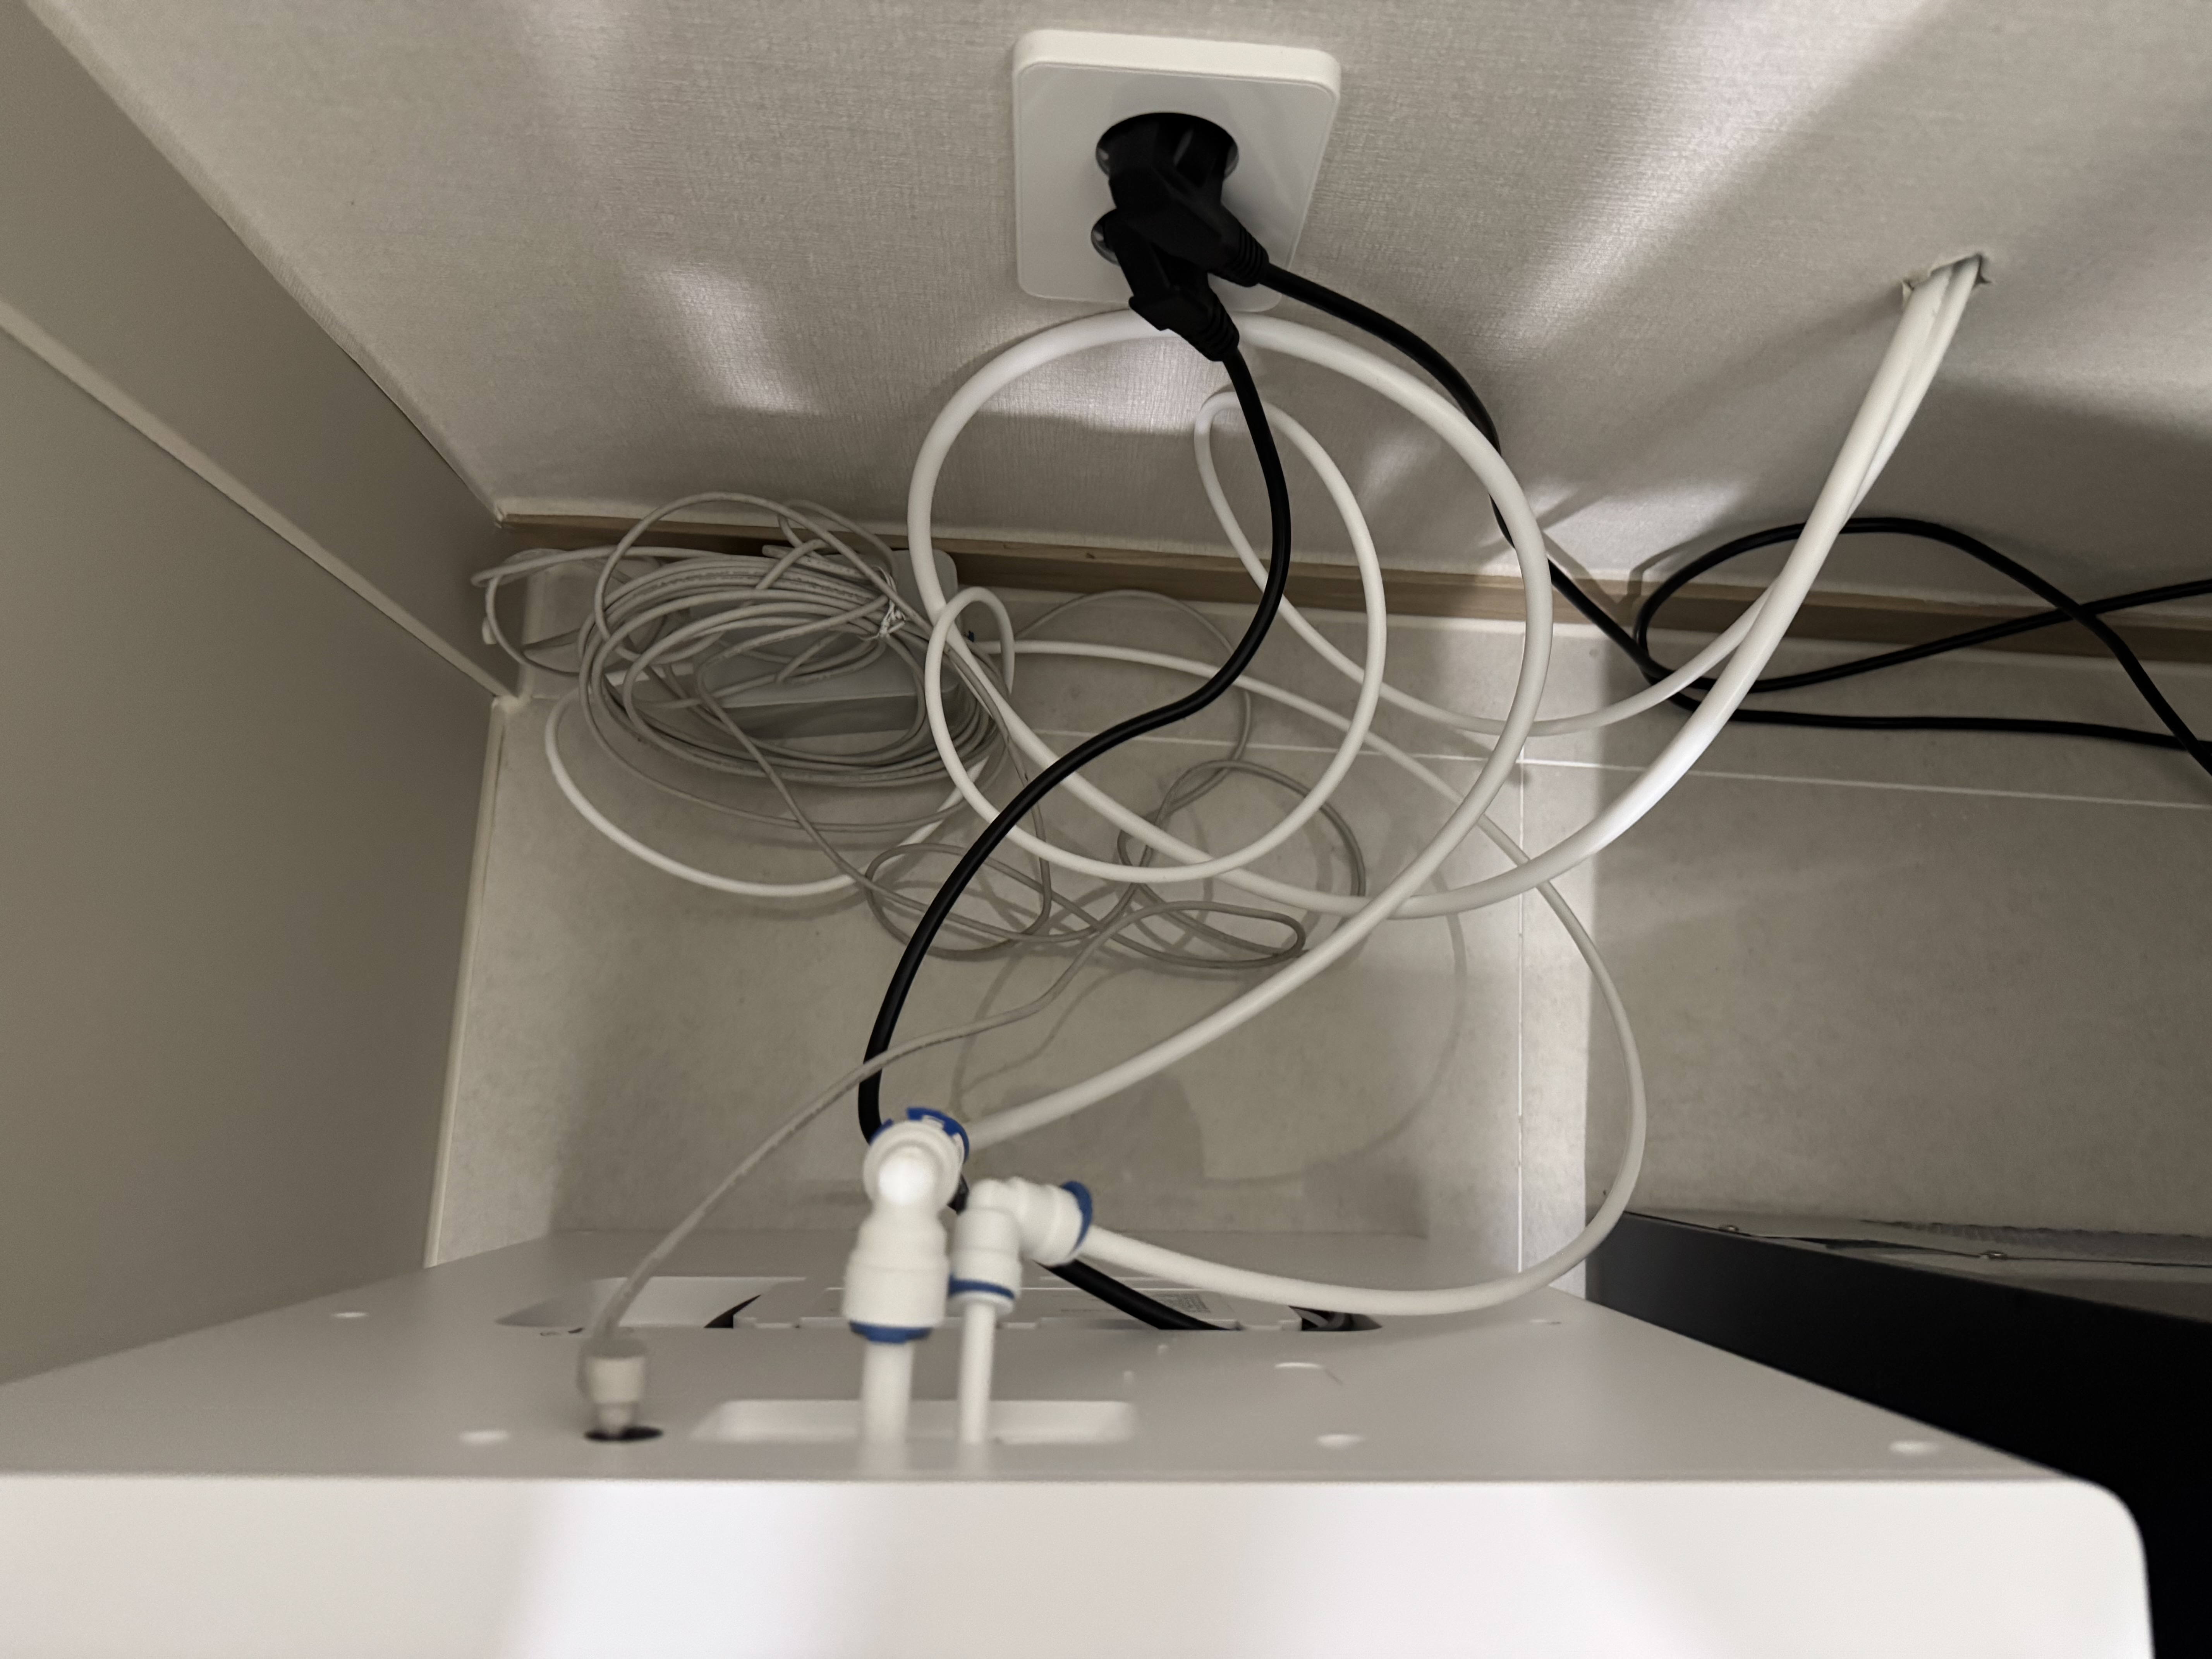
The supply and drain lines made it through to the fridge cabinet side. For reference, the tubing sizes differ by purpose: the clean-water supply line is 1/4 inch, and the drain line is 3/8 inch to avoid clogging.
Tapping a T-valve under the sink
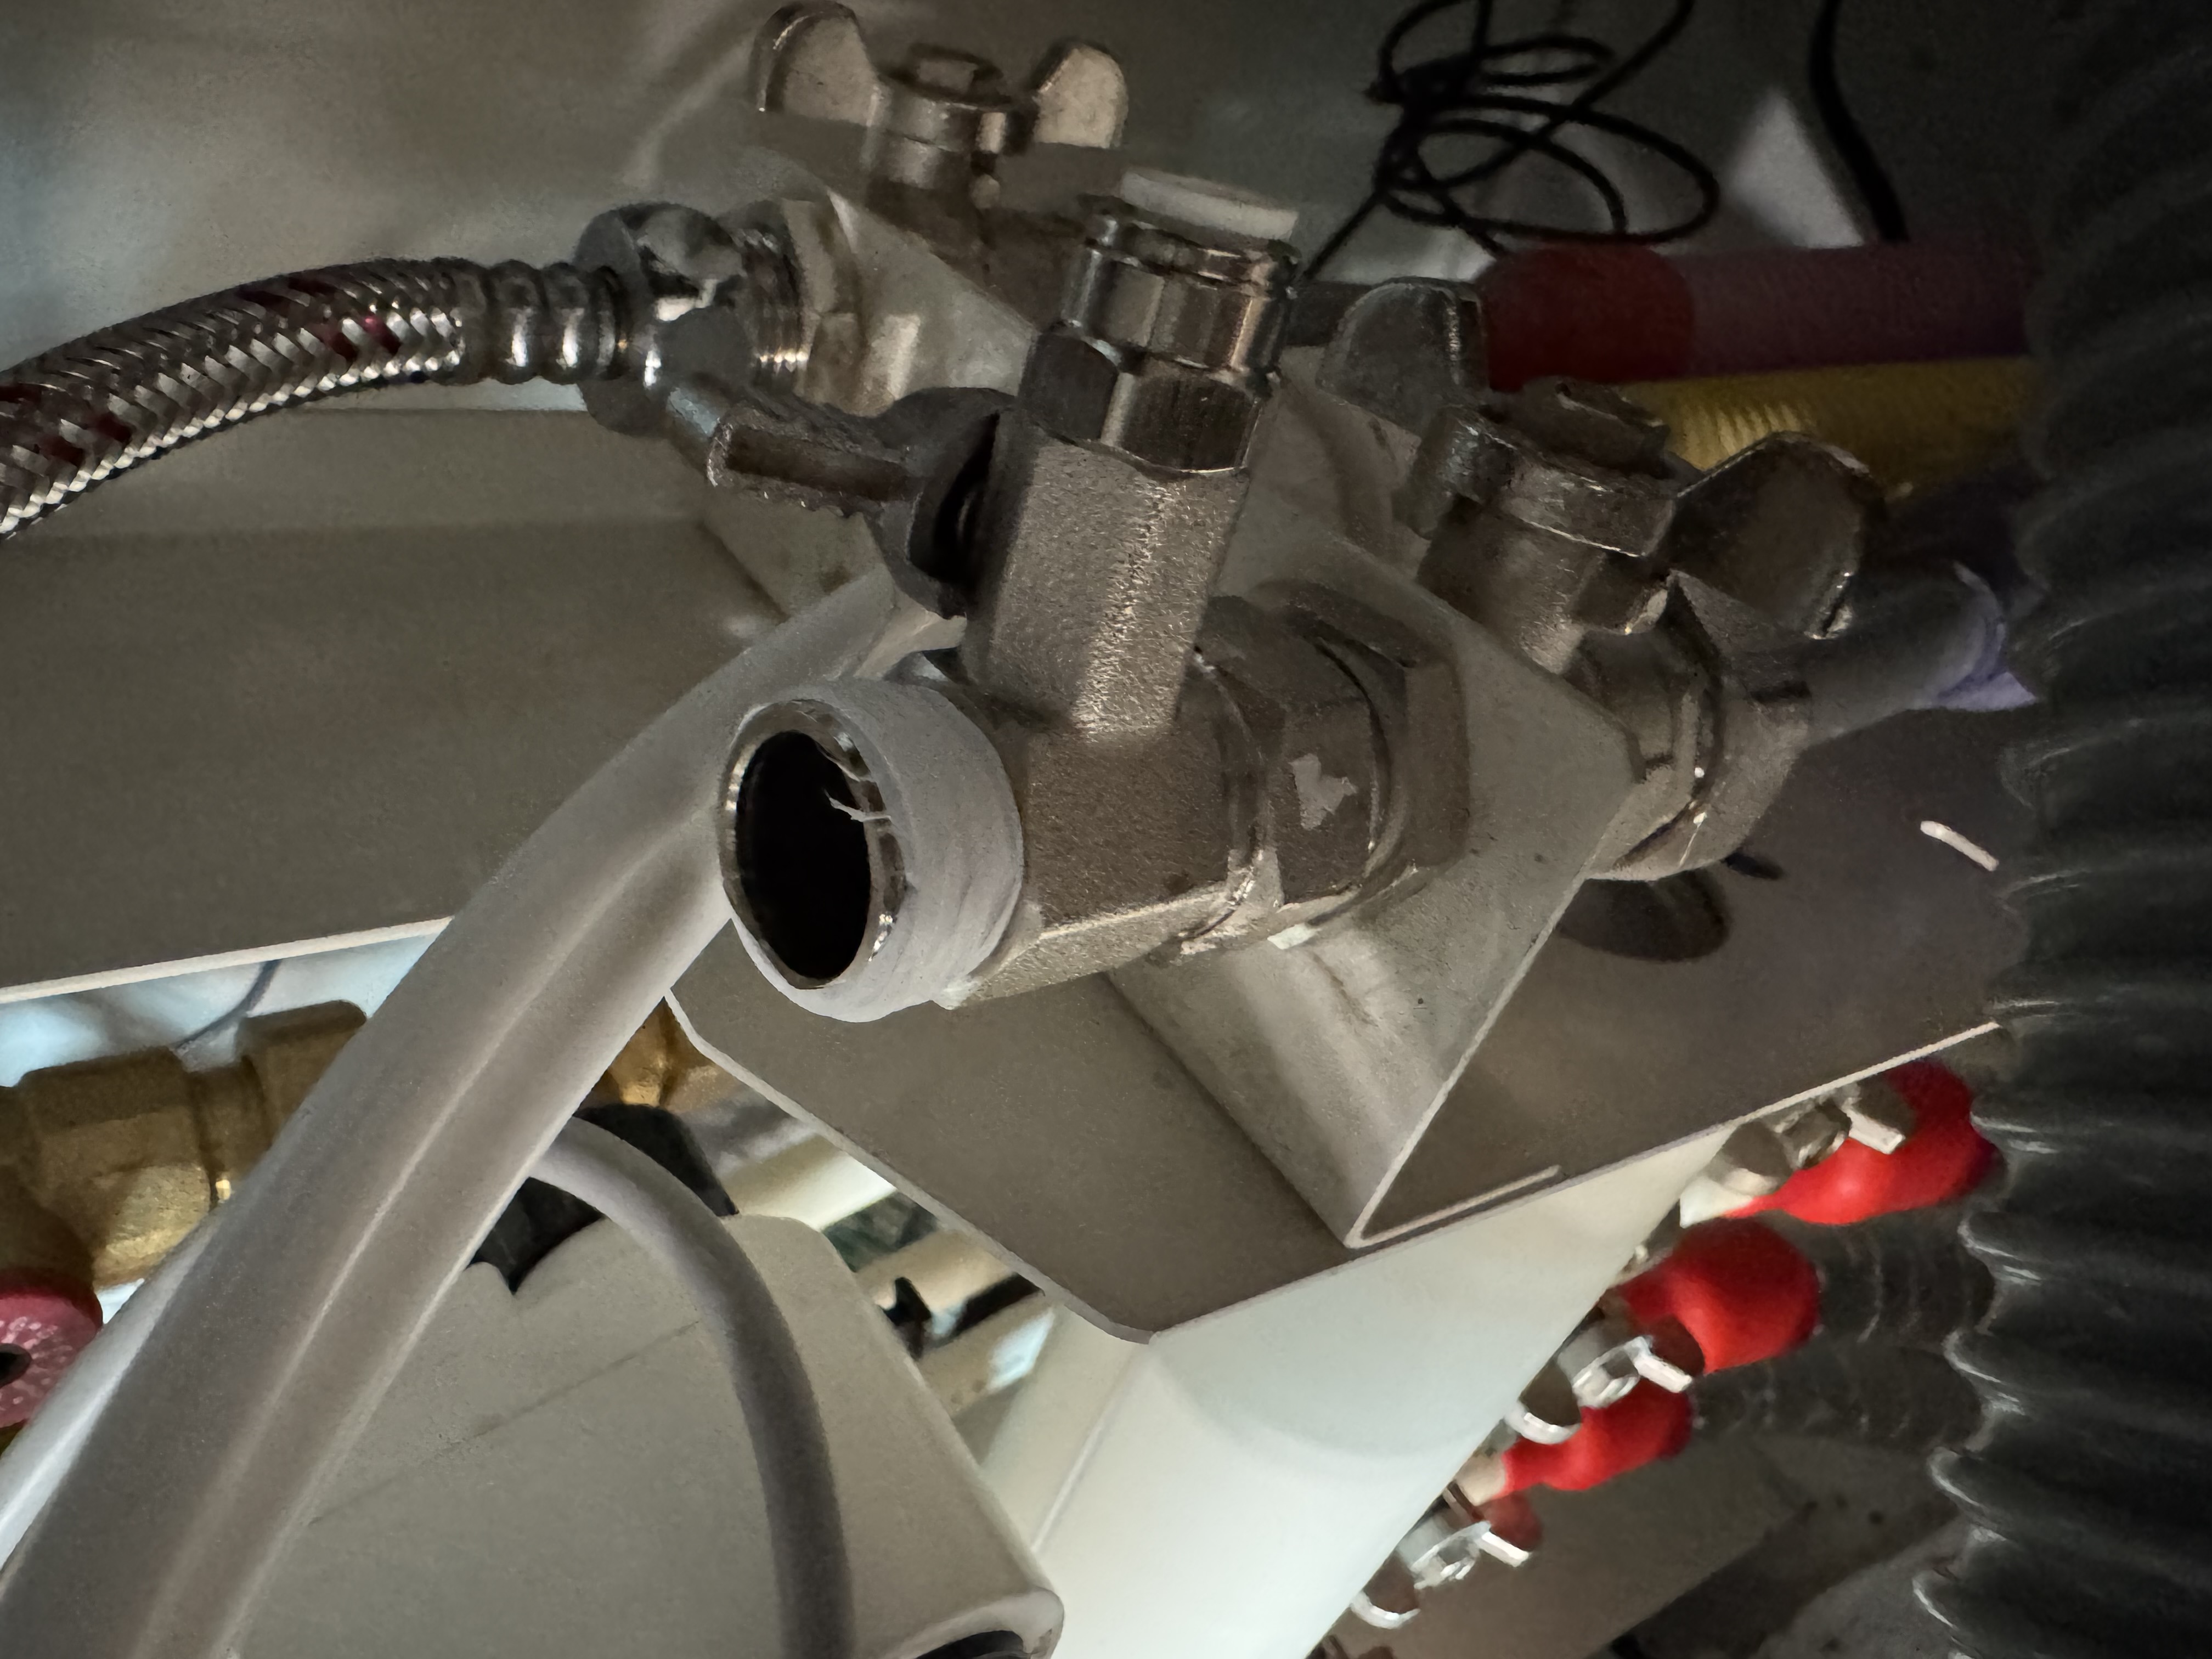
After finishing the connection on the robot vacuum's side, I opened the sink base cabinet and tapped a T-valve into the existing supply line. I shut off the supply valve first, and since I didn't have an adjustable wrench at home, I used a locking pliers to loosen the existing fitting.
I wrapped the threads with Teflon tape a few times to prevent leaks.
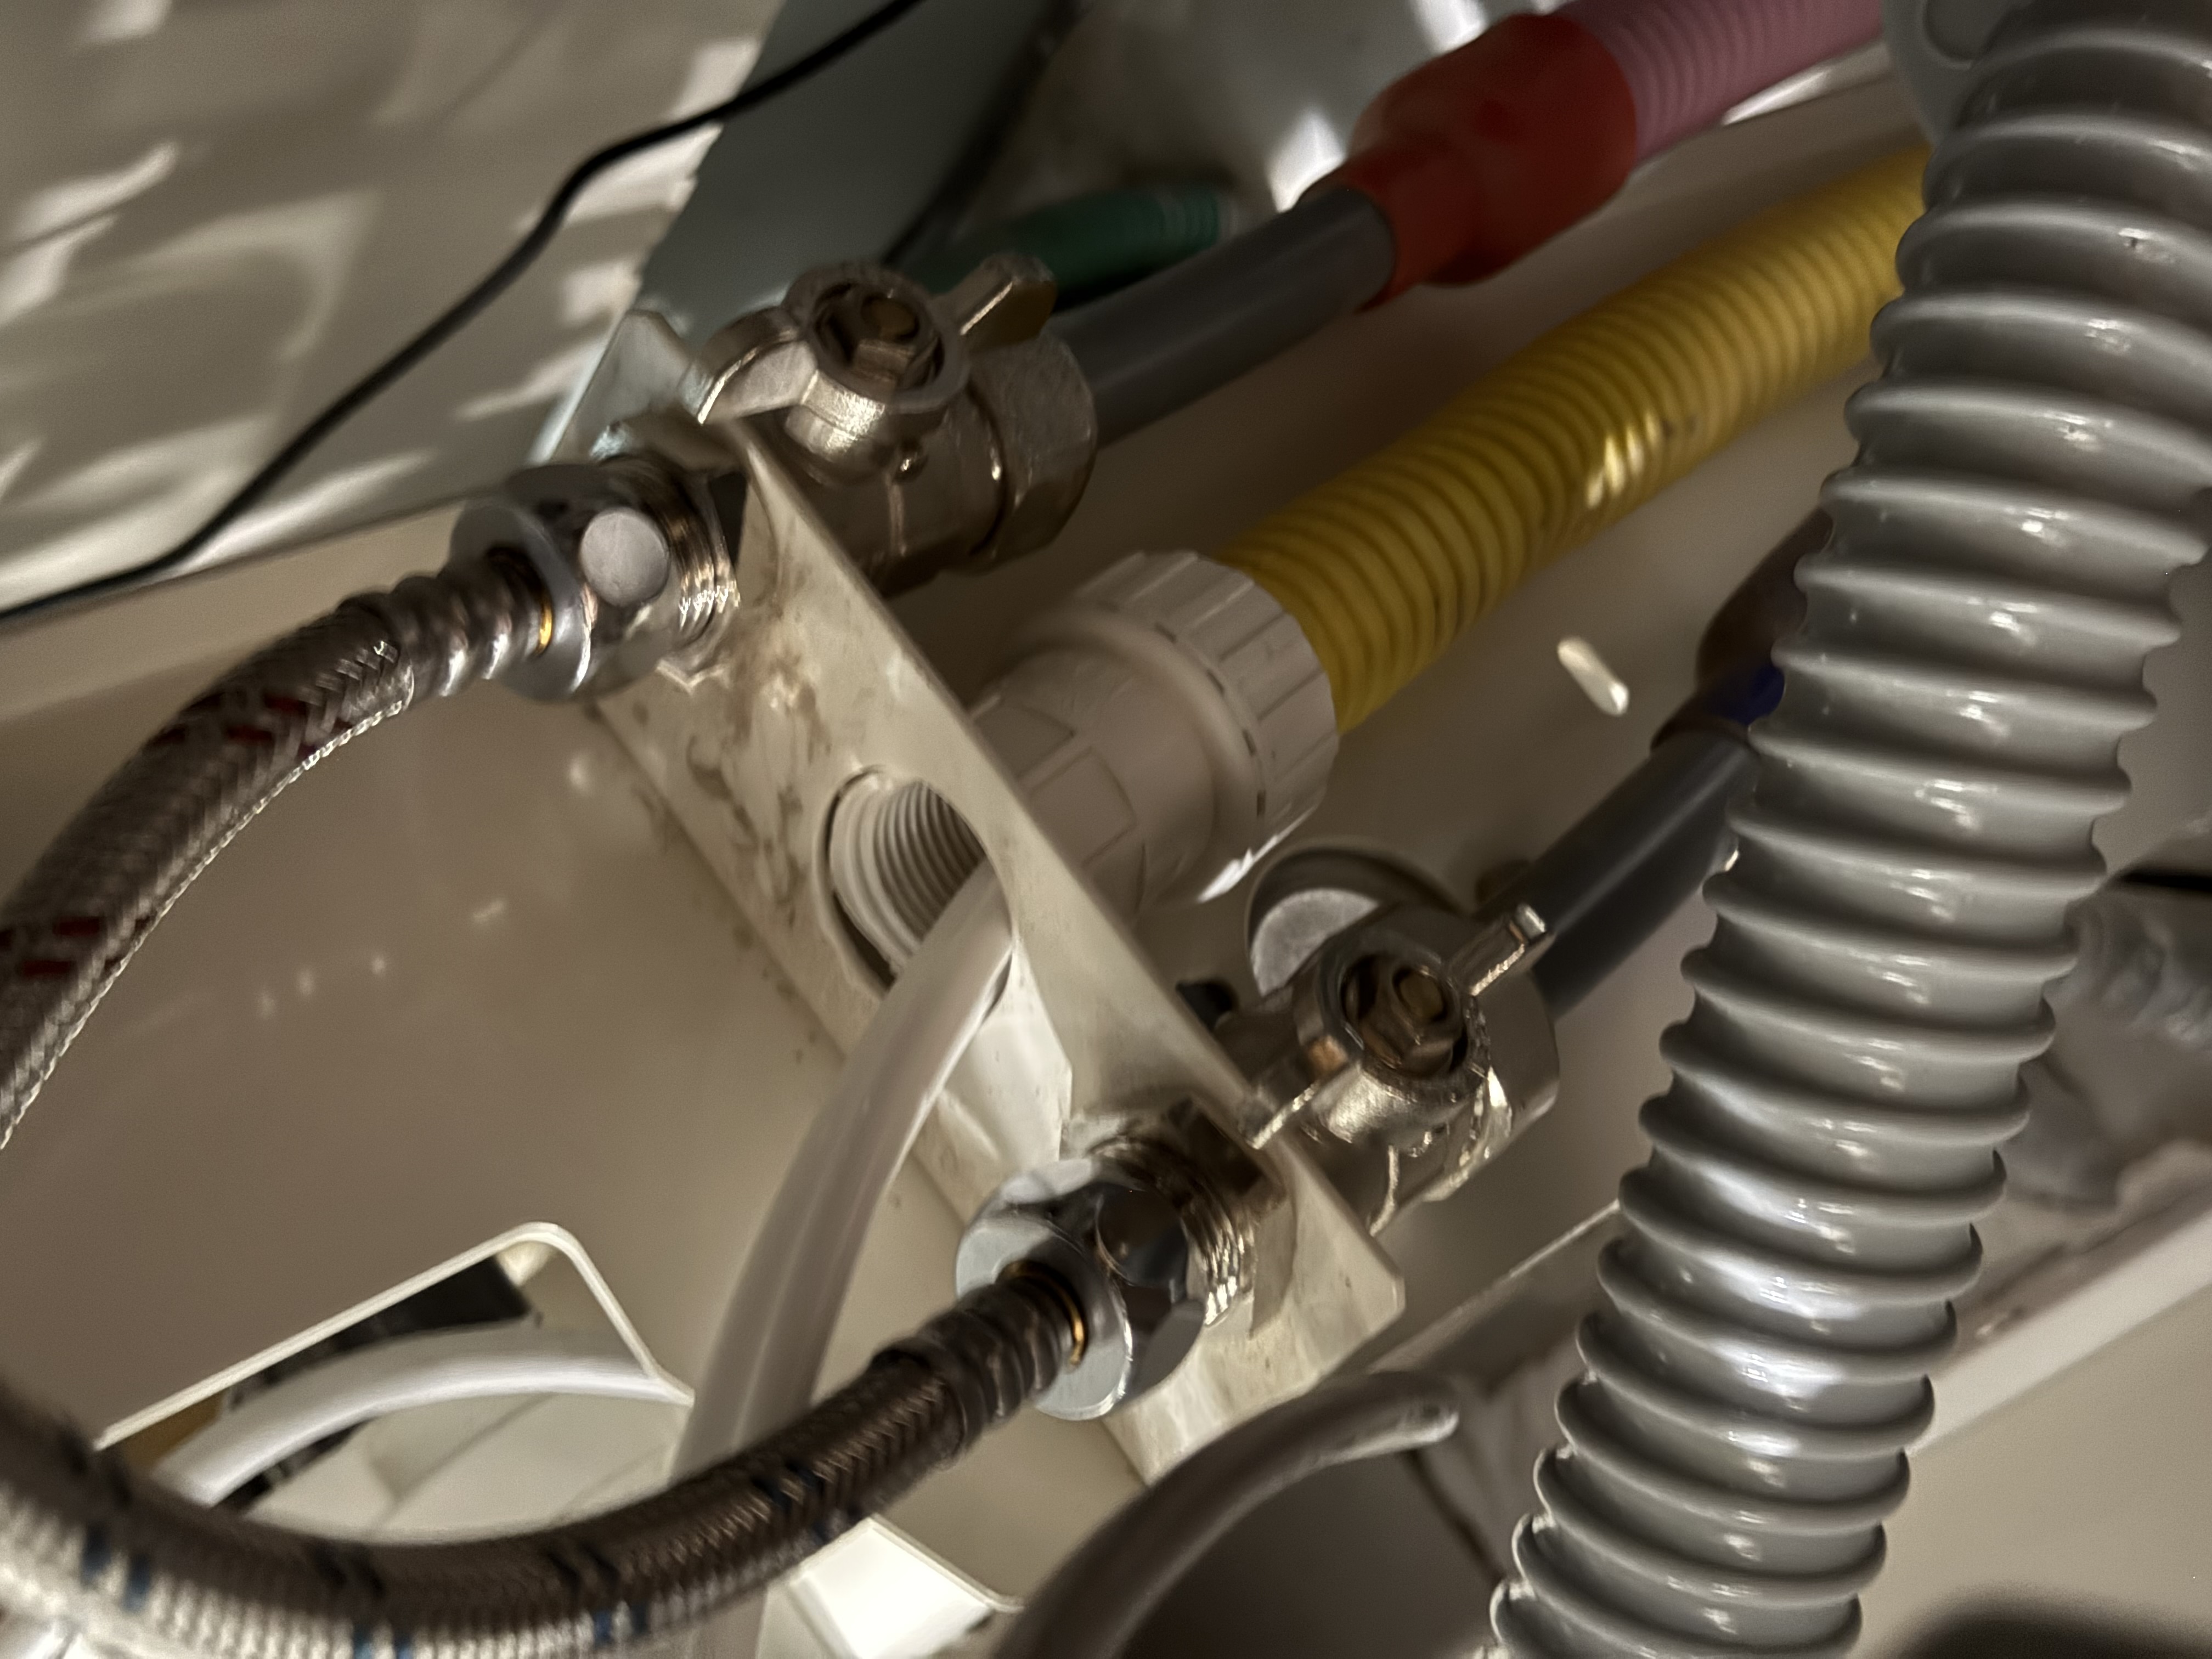
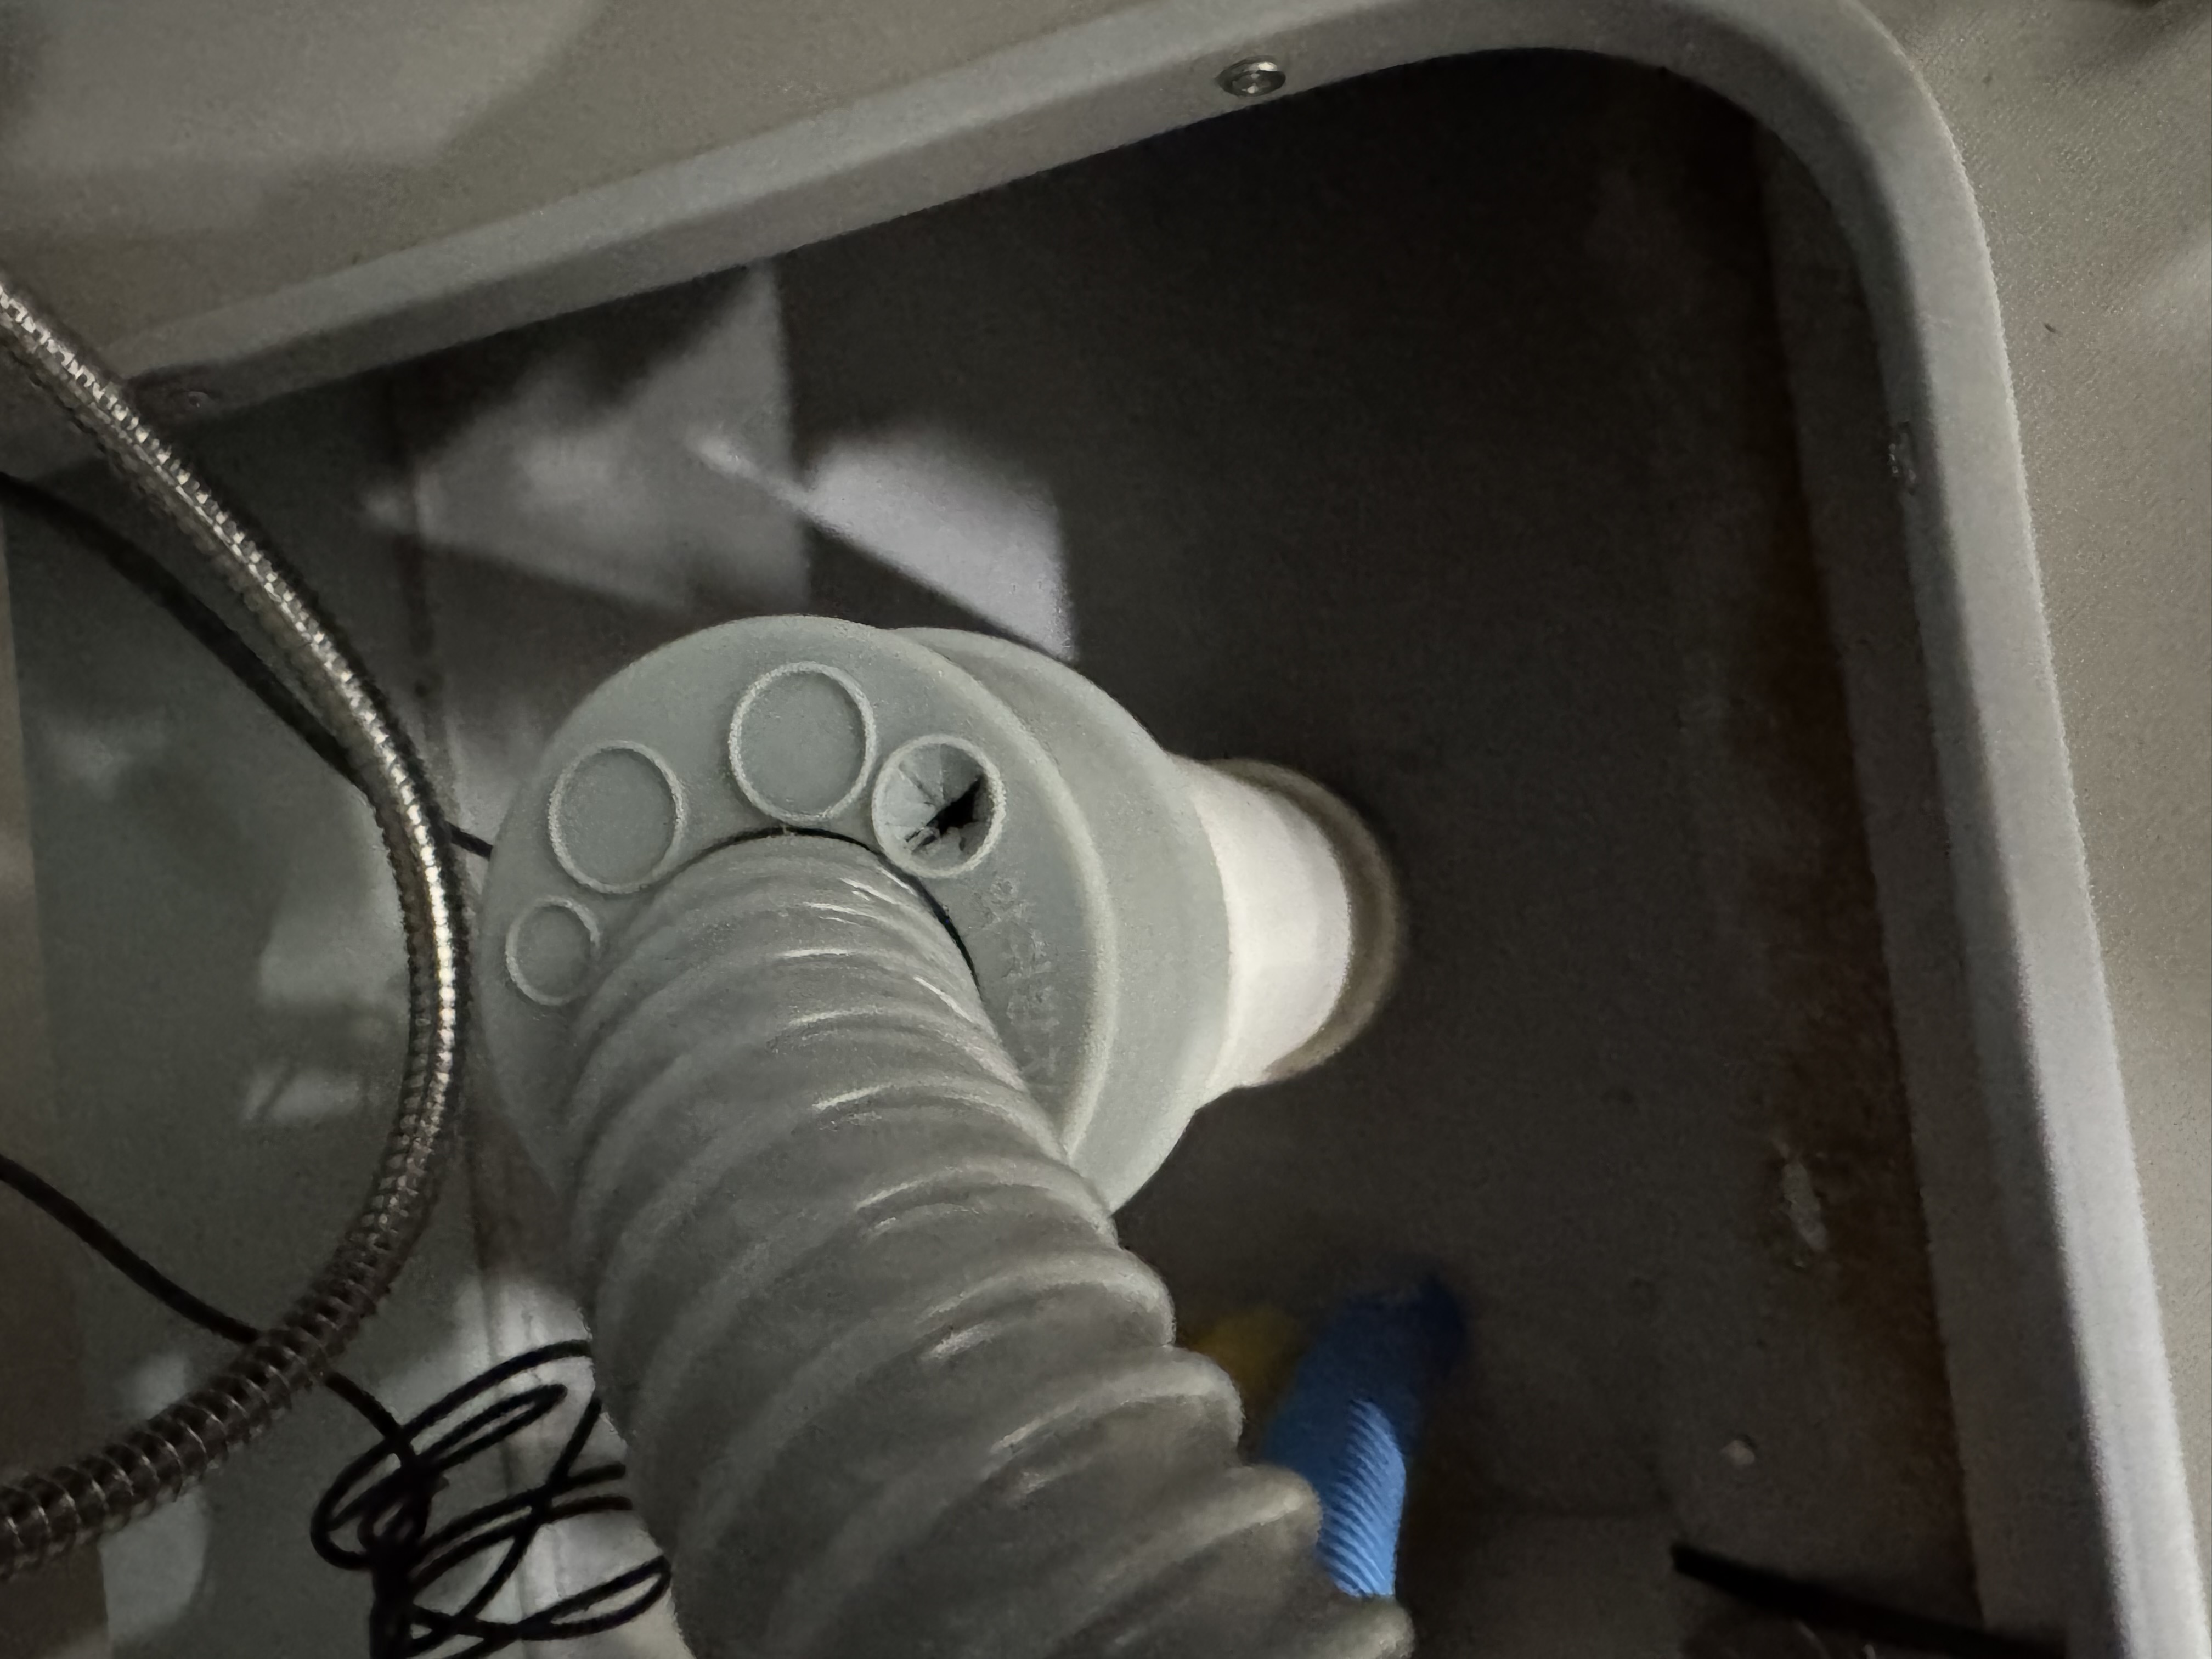
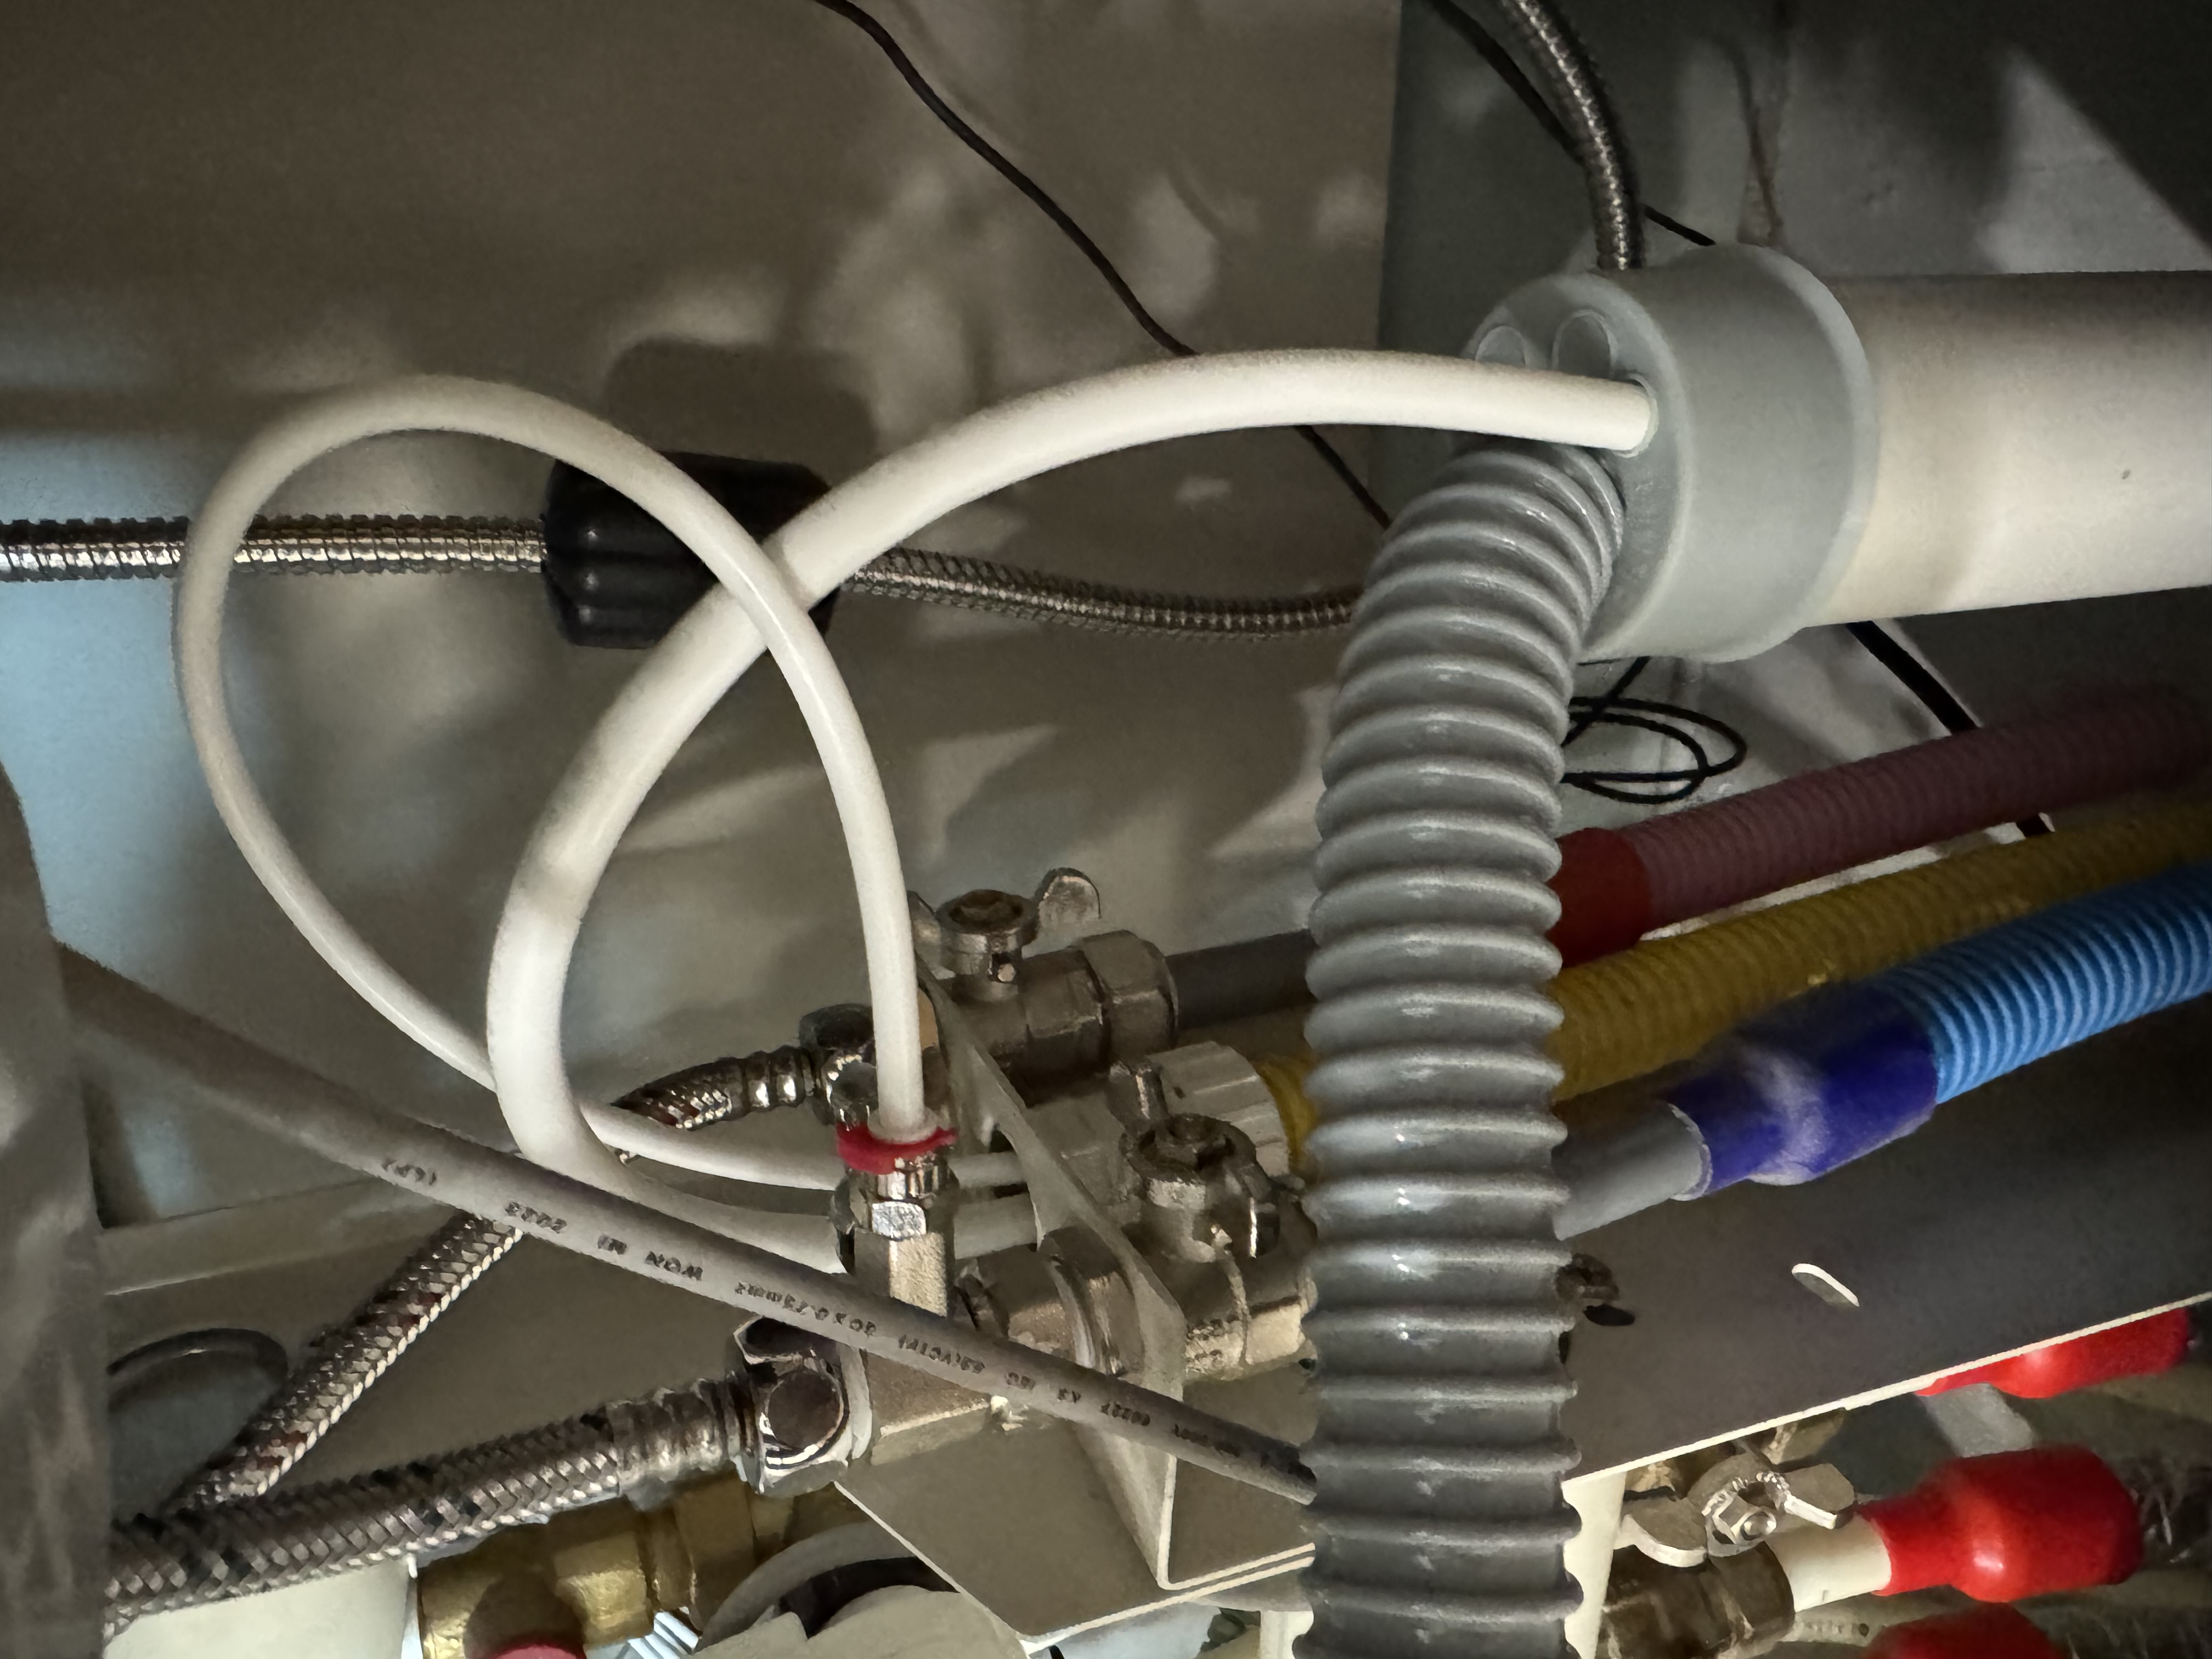
For the drain line, I just scored a line into the existing drain opening with a utility knife to shape an opening, rather than cutting a chunk out, then pushed the kit's drain tube in as tightly as it would go. Fitting it in that snugly meant I didn't need to finish it off with silicone.
One more T-valve for the water purifier, at the fridge cabinet
Since the water purifier was eventually going to sit near the fridge cabinet anyway, I added one more T-valve to the supply line there while I was at it, and ran a separate line for the purifier.
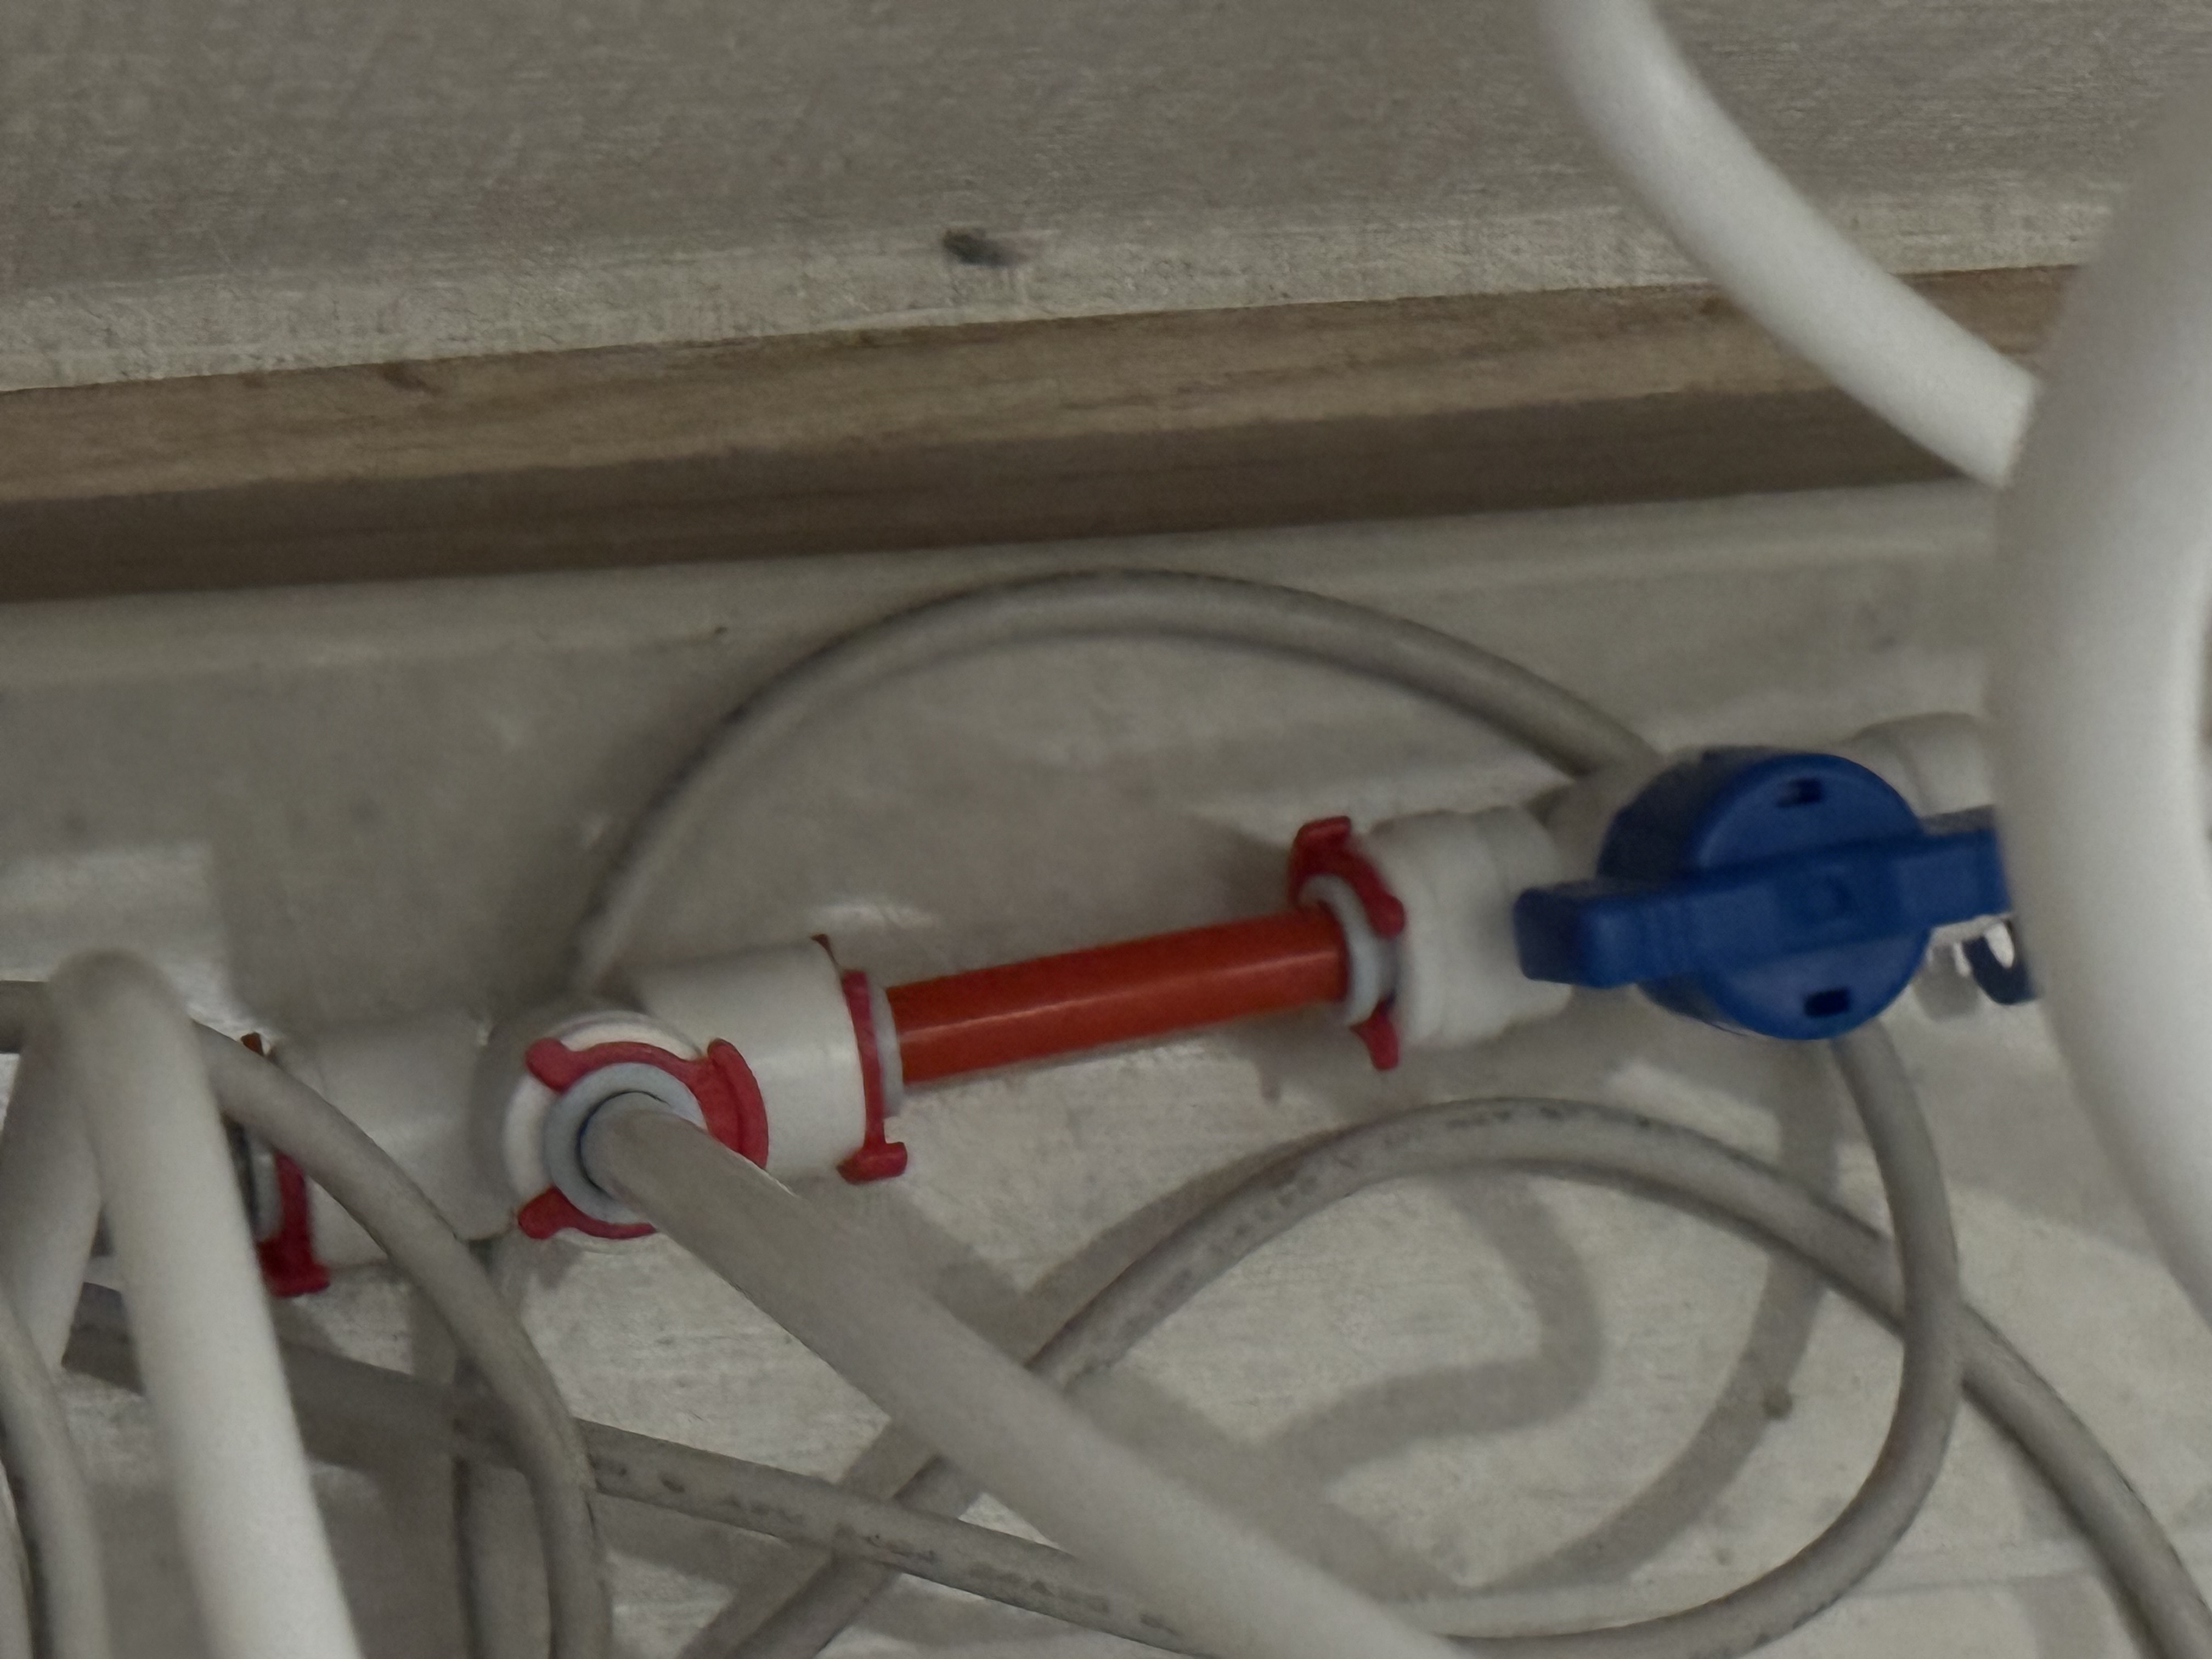
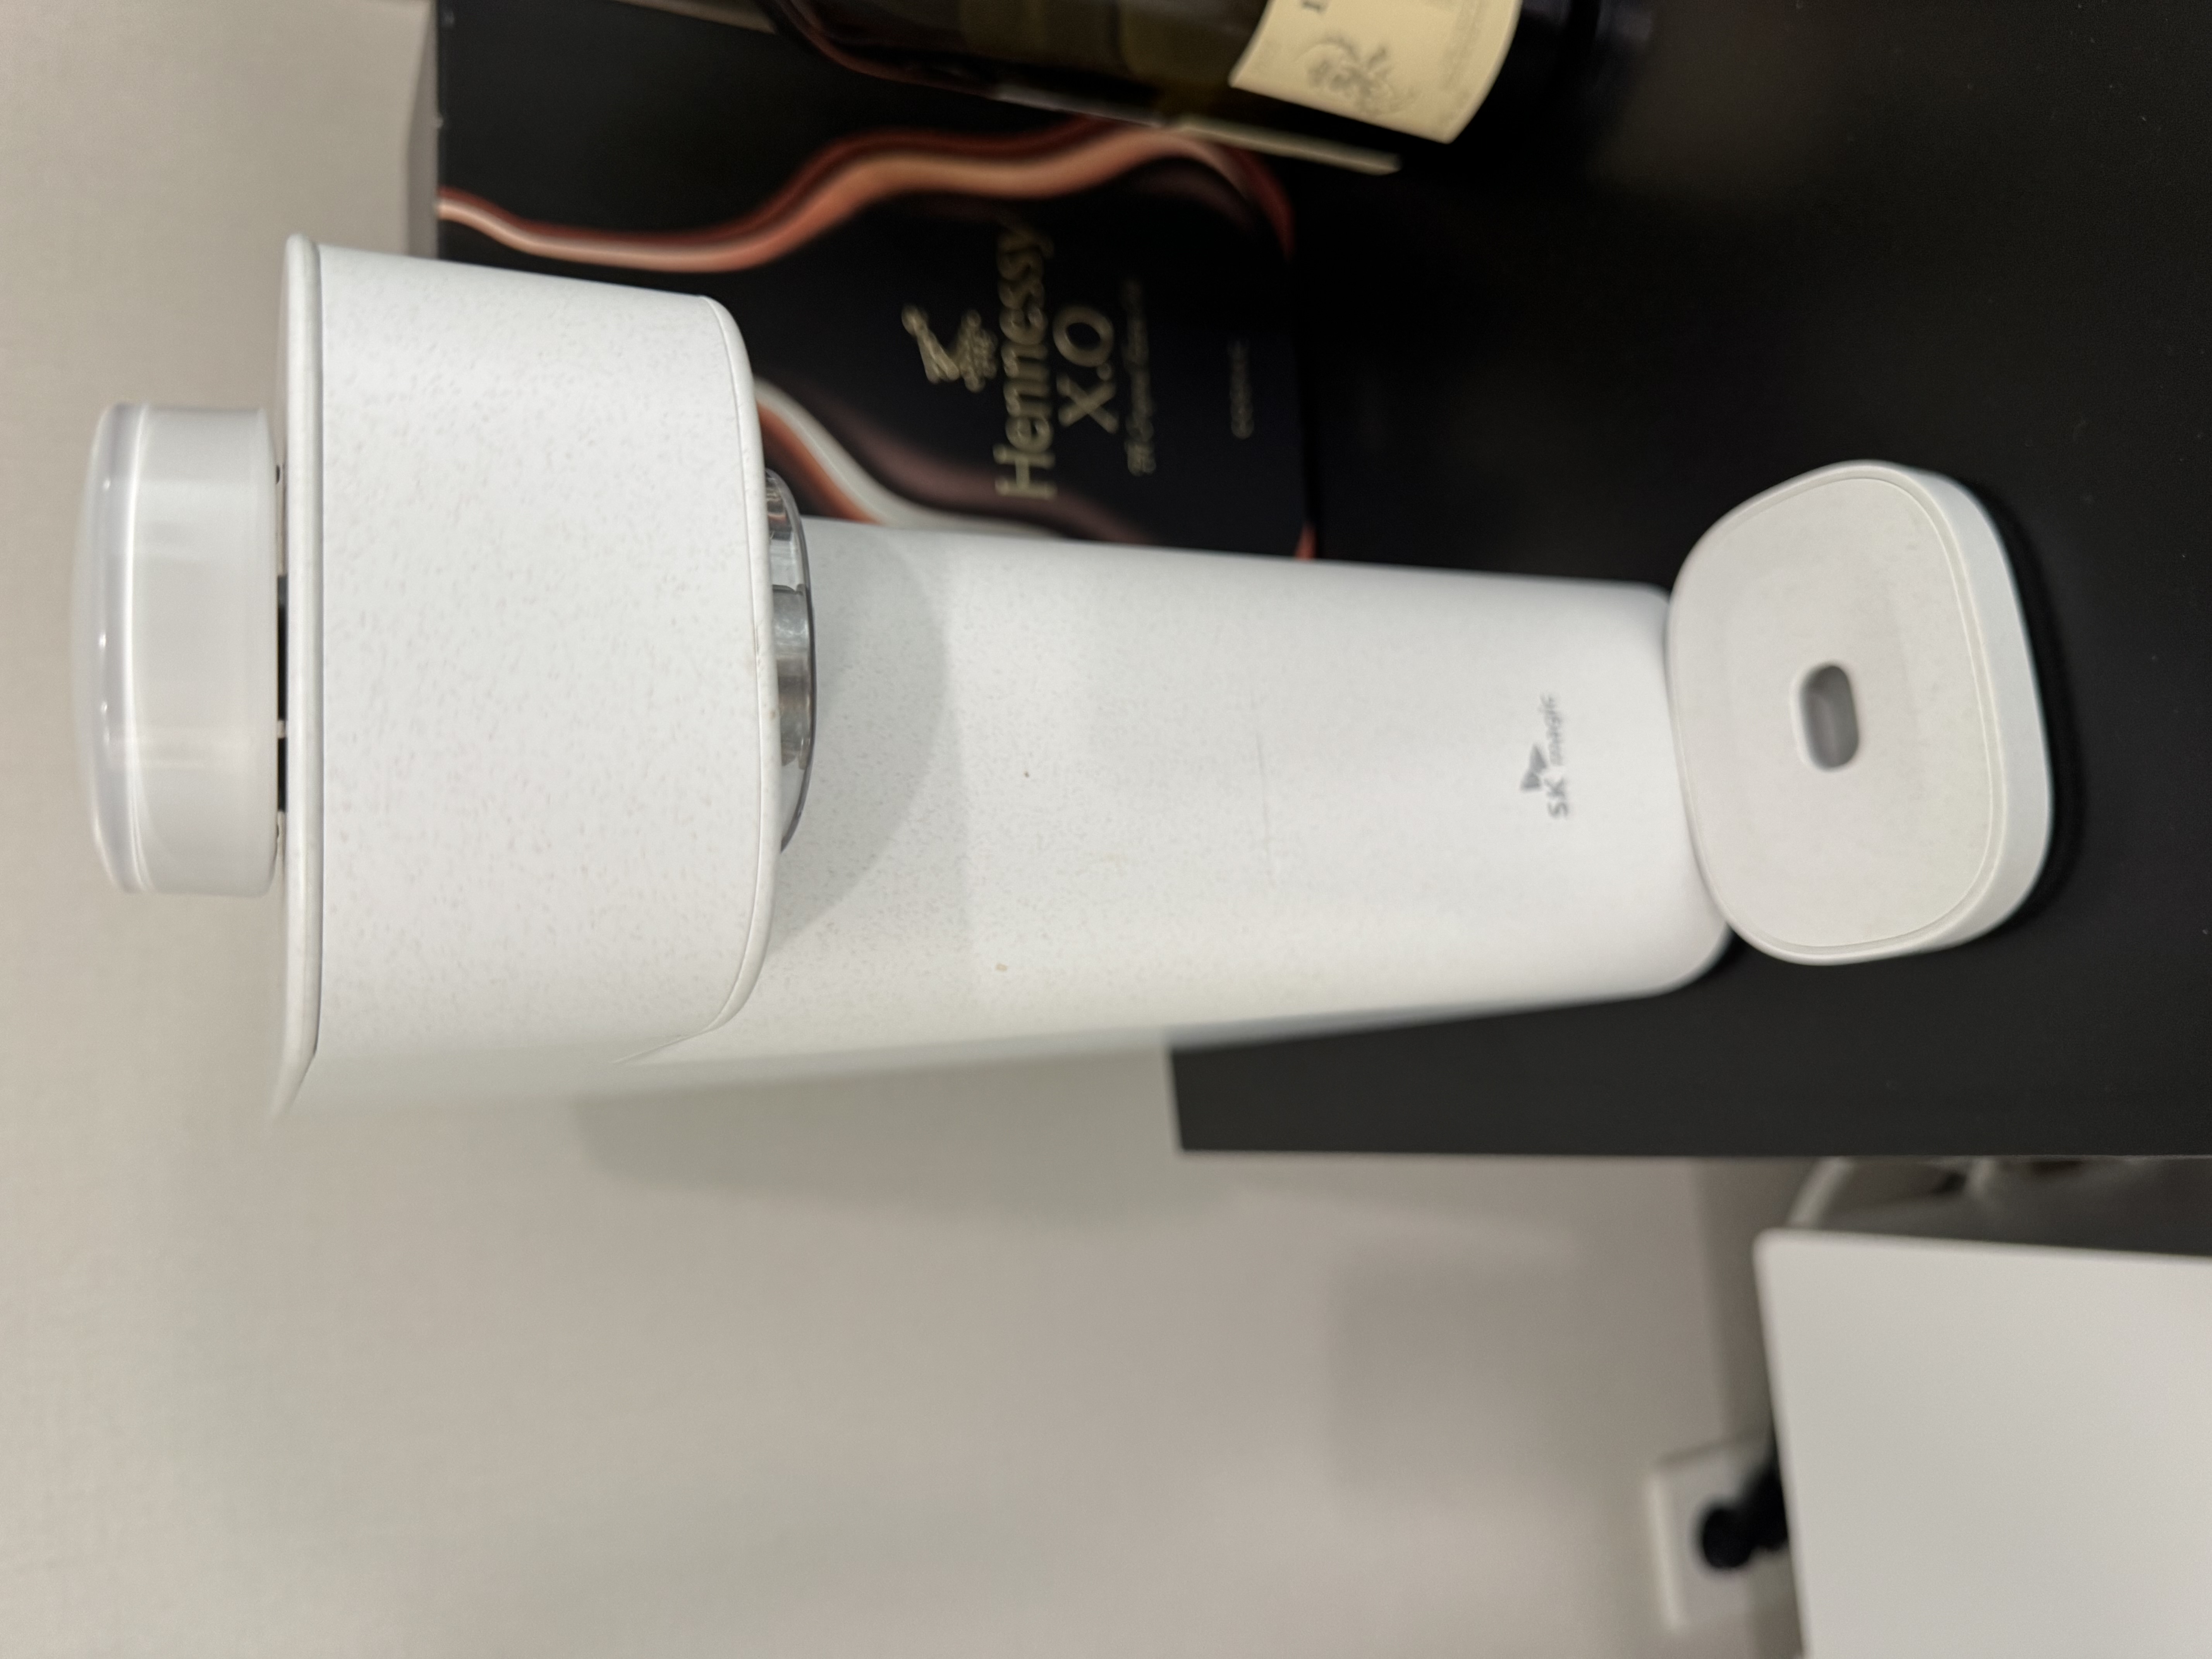
There's no home bar cabinet built in yet, so for now the purifier is sitting temporarily on top of the wine cellar. Once the cabinet is built, I'll move it over there.
Wrap-up
I didn't time it exactly, but it felt like it took somewhere between an hour and an hour and a half. Take out the time I spent stuck at that bend before switching to the fish tape, and the actual work didn't take that long at all.
The cost ended up being pretty low too. The supply and drain tubing came bundled with the Aqua 10 kit, so the only thing I bought separately was the fish tape, for under 10,000 won. If you've never done plumbing DIY before, I'd recommend picking up a fish tape ahead of time regardless. It's cheap, and if you get one with generous length, it won't go to waste no matter what you end up using it for later.